
Honestly, I can’t tell if the Disney film Frozen became so popular because of the hit song “Let It Go”, the characters or the plot. But, all I know and all I can remember is that back then, my little girl went wild-crazy over Elsa. She was so into that character that she started liking hair braids, wearing blue clothes and obviously that song was stuck in her mind. At one point, she got so obsessed with Elza’s costume that I had to make one for her. Can you believe that?
So, if you have a kid who’s gone nuts over Elsa, why don’t you surprise her with this little DIY gift?
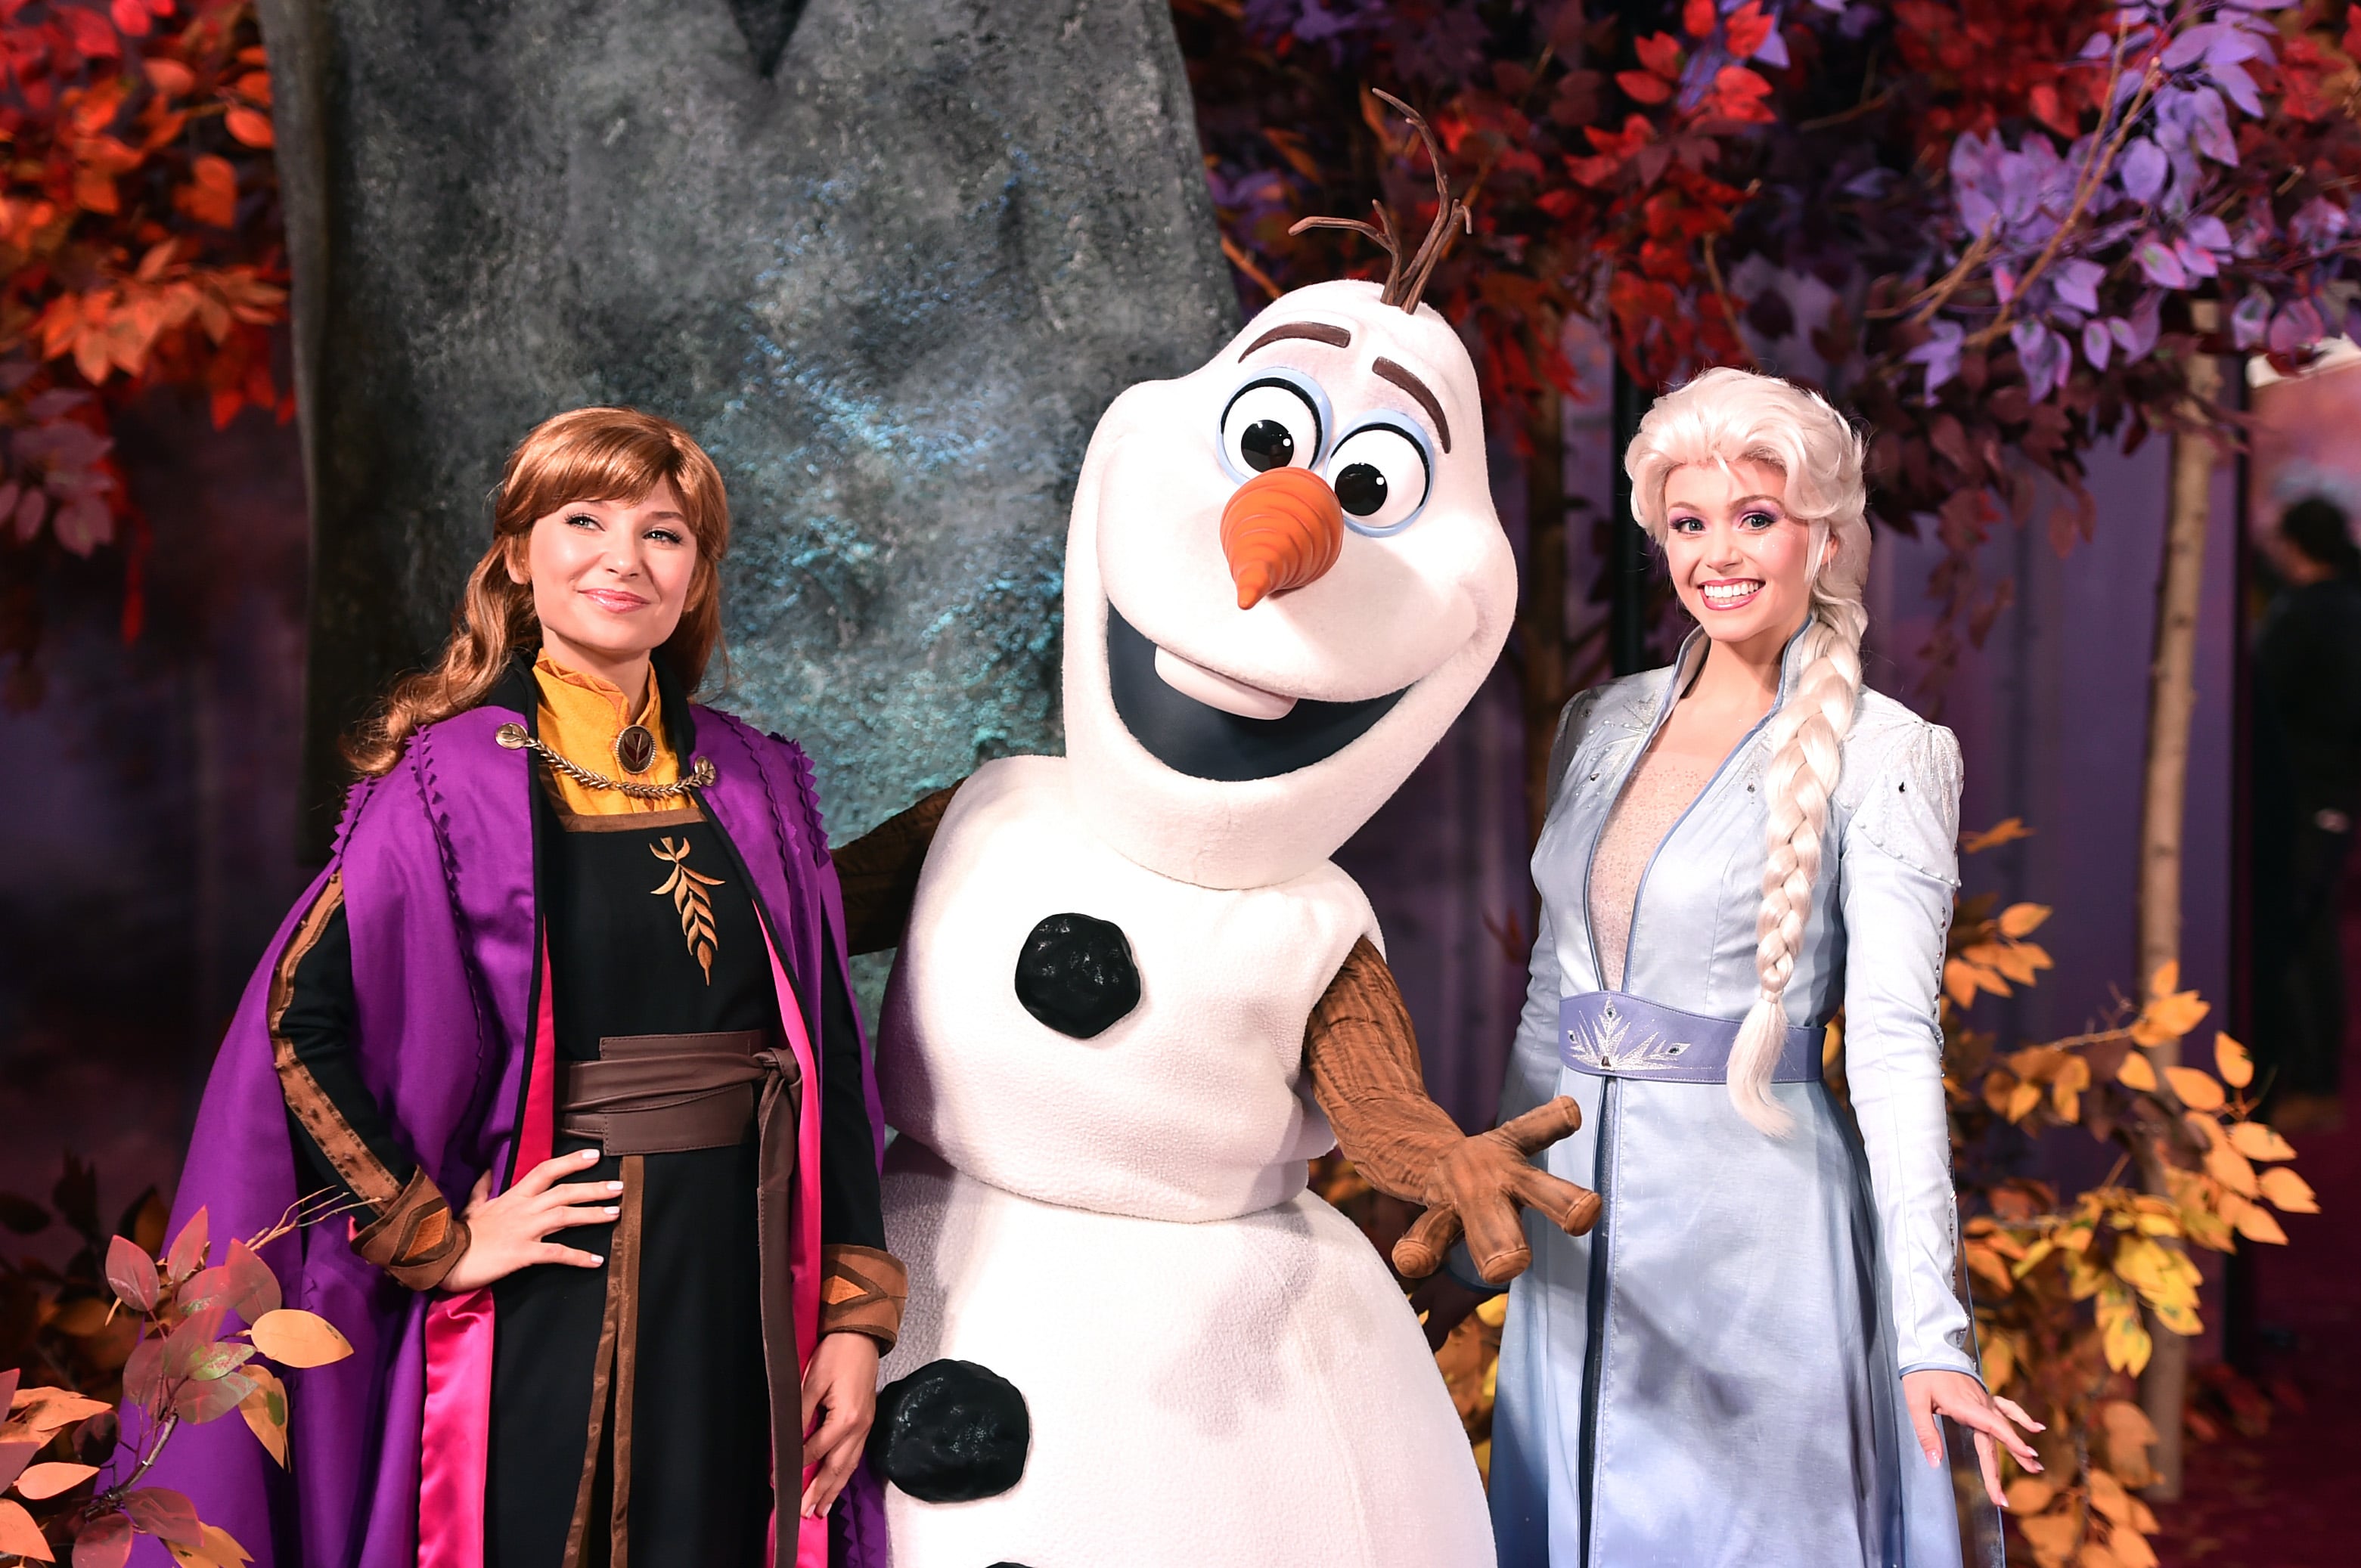
DIY Elsa Costume
Materials you’ll need:
- A white long sleeve shirt
- Cricut
- Silver glitter iron-on
- Elastic
- White and blue glitter tulle
- A blue cami or you can also use a white cami and Rit Dye
Instructions on how to make the DIY Elsa costume:
 Step 1:
The first stage consists of taking the right measurements – you don’t want to get that important part wrong. So, measure your kid’s waist and then use the elastic ends to sew them together. In order to make this a no-sew costume, you should use ribbon instead and make a bow on the back. Now, cut your tulle pieces according to the length you want the skirt to be. Once this task one, tie a quick knot right around the elastic segment. Remember, it has to be a simple loop and knot around this part. Here’s how to do it right: Fold the tulle in half and then make a small loop around the elastic.
Additional Note: I know you are wondering about how much of the tulle you will need. Well, this will depend entirely on how long or short you want the skirt to be. For example, I recall that my kid was maybe around 42 inches and since I wanted her to wear a long rather than a short skirt, I opted for at least 5 spools of tulle. So, choose the length according to what you want your daughter to wear.
Step 2: Now, we are going to make the cape. You start by sewing the white glitter tulle on the back of the cami. To gather the tulle, try to create a basting stitch right along the top and then proceed by sewing it on the edge of the shirt. If you want to make a no-sew version of the cape, you can replace it by using Velcro or using a ribbon on the ends.
Step 3:
With the glitter iron-on and the Cricut machine, try to cut different kinds of snowflakes. If you want to customize, you can just add a few glitter snowflakes on the front of the blue shirt or on the bottom of the cape. When it comes to the customizing and designing section, I’m a little weak, sorry, but if you want to add some extra “touches”, you are free to do so.
Step 4:
This is the most challenging phase. Here, it might happen that you can get the iron-on to stick properly to the tulle. So, I recommend using a light muslin piece of fabric right under the tulle. This would make the iron-on stick properly. However, you’ll probably have another issue with this method. The iron-on can very difficult to remove from the underneath fabric, so make sure you take things slowly. After you’ve done the ironing, remove the fabric carefully.
Additional Tip: The longer you let the fabric cool, the harder it will be to remove it. And, this can also tear the tulle. So, take as much precaution as you can.
Step 5:
Once you’ve ironed the design, carefully take off the protective sheet and the pieces of fabric. There’s a chance that you might now be able to iron on the last snowflakes design without needing the fabric underneath.
Leave a Reply