Leather Seat Restoration: DIY Fixes vs. Professional Results
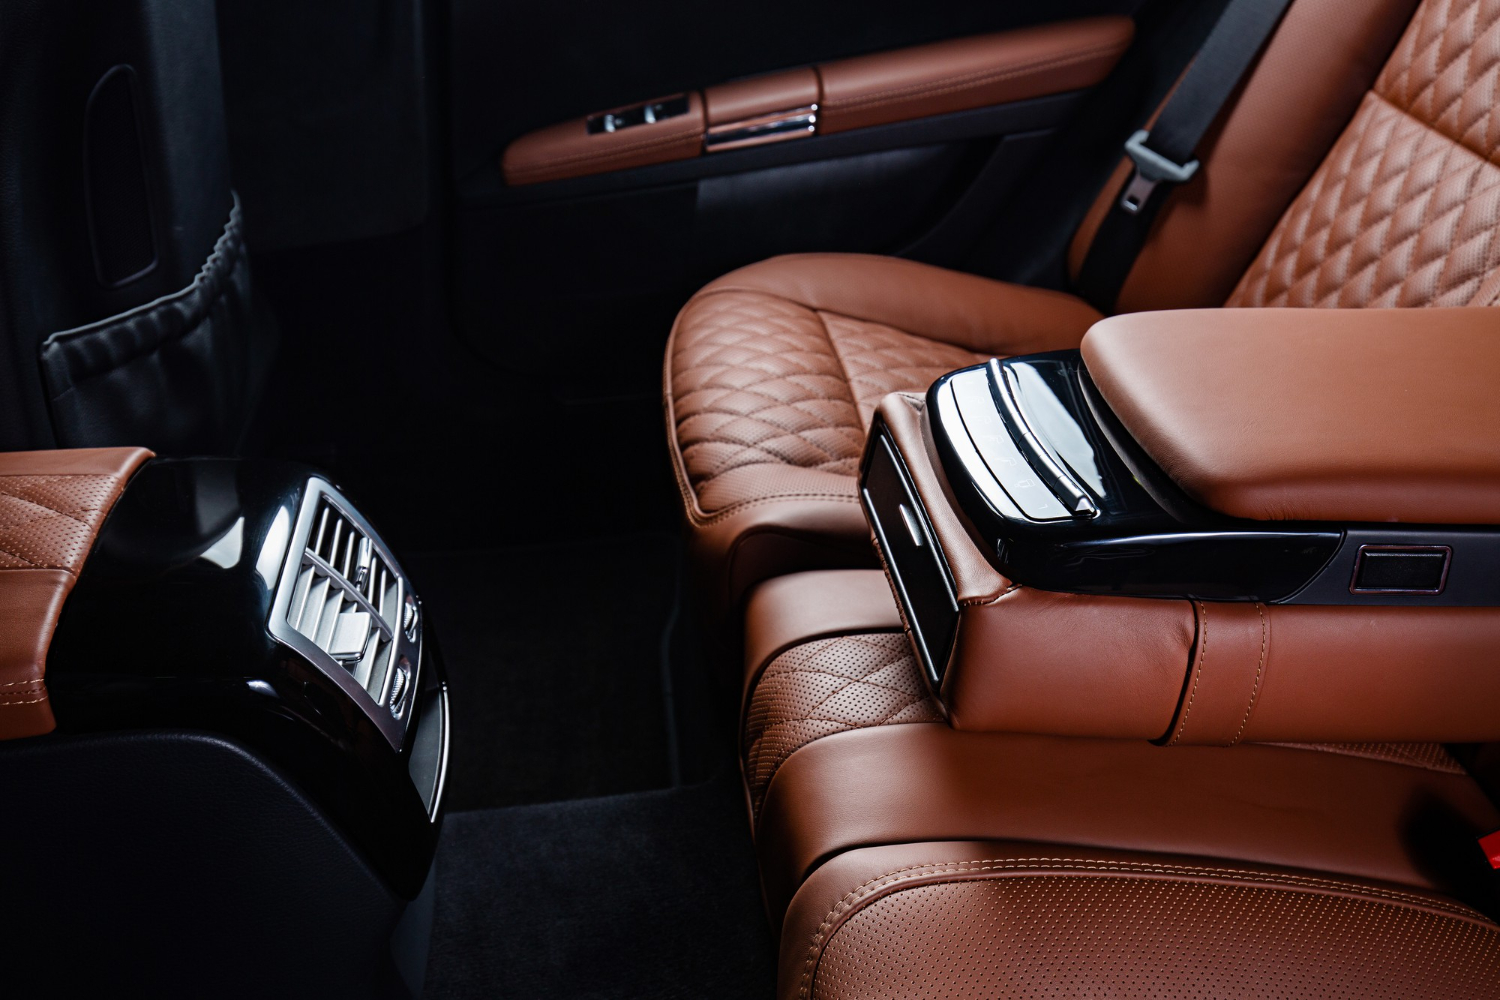
Looking at a cracked leather seat or a sun-faded car interior can fill any car owner with dread. The thought of costly replacements often leads to frustration, but understanding the damage can pave the way for effective solutions. Many are surprised to learn that a range of leather seat issues, such as “spider-web” cracks or deep gouges, can be repaired without a significant financial burden. This guide dives deep into the contrasting worlds of DIY leather seat restoration and professional repair services, serving as a roadmap to revitalize your car’s interior while maintaining its value.
Understanding Leather Seat Damage: Know Your Options
Before embarking on any restoration efforts, it’s crucial to identify the type of damage affecting your leather seats. Recognizing whether your issue stems from sun exposure, physical abrasions, or general wear and tear will guide your repair approach. Leather, while durable, is not invincible. Common issues include:
Spider-Web Cracking: These are fine, interconnected surface cracks that arise from dryness. They often make the seat look aged while still being relatively stable.
Sun Fading: Prolonged exposure to UV rays can bleach the pigment out of leather, leaving it dull and lifeless.
Deep Gouges and Scratches: Caused by various factors, such as pets or keys, these marks can impact the seat’s appearance and comfort.
Peeling: Often a sign of a failing finish, peeling indicates that the original protective layer is compromised.
The harsh environment inside a car can significantly affect leather. Temperature fluctuations and constant friction can lead to moisture evaporation, making the material brittle and prone to cracking. Understanding these common types of wear can help you determine whether a DIY fix or a professional service is necessary.
Weighing DIY Fixes Against Professional Services
When it comes to leather seat restoration, car owners often face a pivotal decision: tackle the repair themselves or hire a professional. Each option presents its advantages and challenges.
Feature
DIY Restoration
Professional Reupholstery
Cost
Fraction of the price
High (hundreds per seat)
Effort
Simple 4-step process
Logistics of leaving the car at a shop
Durability
Permanent color and fill
New material longevity
Authenticity
Maintains original leather
Replaces with new (sometimes mismatched)
While DIY repairs often involve a lower financial commitment, they require time and effort on the part of the vehicle owner. With proper techniques, a well-executed DIY fix can yield remarkable results, ensuring the original leather remains intact while revitalizing the seats. On the other hand, professional services are typically recommended for extensive damage, as trained upholsterers use specialized tools and materials designed for durability and longevity.
Essential Supplies for DIY Leather Seat Restoration
For those opting to undertake the restoration project themselves, having the right tools is critical to achieving a seamless repair. Collecting the necessary supplies beforehand ensures a smooth workflow. Essential items include:
400-600 Grit Sandpaper: Ideal for smoothing out cracks and scuffed fibers.
Leather Preparation and Deglazer: Removes old finishes, silicones, and oils, ensuring a solid bond between the leather and repair materials.
Microfiber Cloths: Perfect for lint-free cleaning and applying repair gel to deep gouges or scratches.
Hair Dryer: Speeds up the drying process, especially when layering color or filler.
Preparation is key. Before applying any color or filler, ensure the leather surface is pristine. Conduct a water drop test: if the leather absorbs water, it’s ready for the balm. Following these steps can greatly enhance the effectiveness of the repair.
Step-by-Step Guide: The Art of Leather Seat Repair
A successful DIY leather seat restoration relies upon a structured approach. Each step builds on the last, amplifying the final outcome. Here’s a comprehensive guide to follow:
Prepare and Degrease: Begin by thoroughly cleaning the leather with a deglazer to strip away years of built-in oils and waxes. Use sandpaper for light abrasion.
Repair and Fill Cracks: For deeper cracks, apply a leather repair filler. Allow it to dry and sand lightly to ensure a smooth surface.
Recoloring for a Seamless Finish: Use a recoloring balm to restore the pigment. Apply in thin layers, allowing each coat to dry fully.
Conditioning and Protection: After waiting 24-48 hours, apply a leather conditioning cream to protect against future damage.
Each step is crucial, as neglecting any one of them can lead to complications or subpar results. For instance, applying a filler too thickly may lead to cracking over time, while insufficient cleaning will prevent proper adhesion. Adherence to the workflow is essential for a professional finish. For car owners who prefer a guaranteed professional result without the trial and error of a DIY project, Rivero Auto Interior offers specialized interior restoration services.
Leave a Reply