
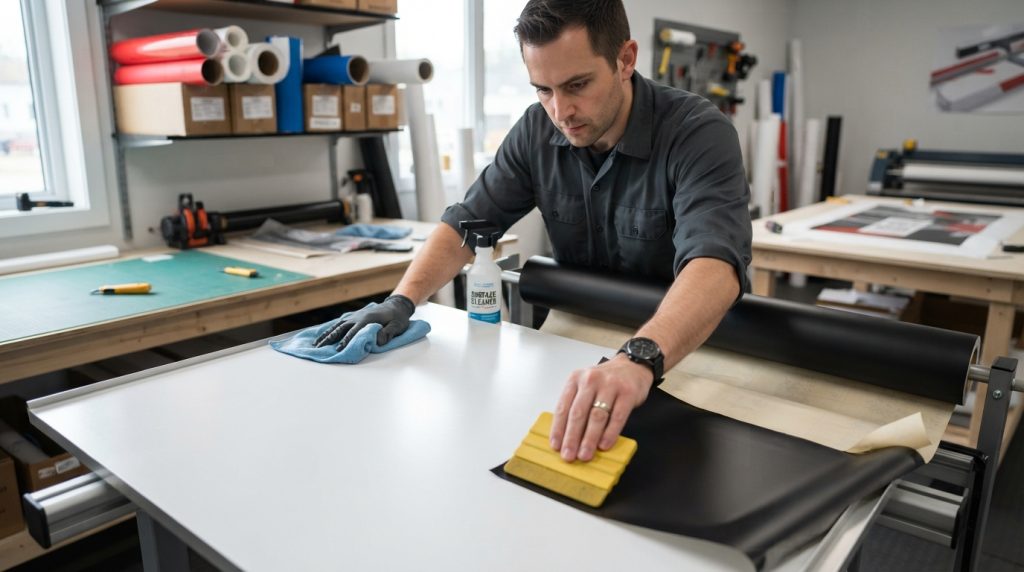
A flawless car wrap is shaped long before the vinyl touches the vehicle. Clean paint, controlled working conditions and careful film handling determine whether the finished surface looks seamless or reveals dust, bubbles and lifting edges.
Preparation and application work as a single process: contaminants must be removed without damaging the finish, while the film needs steady support and precise pressure to settle correctly. Understanding each step helps explain why professional installers devote as much attention to the workspace and the paint as they do to the final squeegee strokes.
Surface Preparation for a Flawless Car Wrap
Surface Preparation begins with a close inspection of the vehicle. Dirt, wax, road film and microscopic contaminants can interfere with adhesion, so the paint must be cleaned and assessed before installation starts.
Two stages are particularly important for preparing a stable surface and promoting consistent contact between the vinyl and the paint.
Cleaning and Paint Decontamination
Surface cleaning removes loose soil and greasy residue, but washing alone may leave embedded particles behind. Paint decontamination, using appropriate tools and products, helps clear bonded contaminants that could create bumps beneath the film.
After washing and drying, installers commonly use an Isopropyl alcohol wipe on relevant areas to remove remaining residues. The product should be compatible with the vehicle’s finish, and seams, badges and panel gaps need special attention because trapped moisture or grime can compromise the result.
Workspace and Temperature Control
A Dust-free workspace reduces the chance of particles becoming trapped under the film. The vehicle and installation area should also be free of drafts and sudden changes in temperature, which can affect how the material stretches and adheres.
Temperature control helps keep the vinyl pliable without making it overly soft. Following the film manufacturer’s guidance supports Adhesion promotion and makes the material easier to position accurately.

Vinyl Handling Techniques Before Application
Once the paint is ready, attention shifts to the film itself. Vinyl film handling affects positioning, tension and cleanliness, so the material should be supported carefully from the moment it is unrolled.
Good handling protects the adhesive and helps prevent creases or contamination before the film reaches the vehicle.
Positioning and Supporting the Film
Installers should handle the vinyl with clean, dry hands and avoid letting its adhesive side touch clothing, tools or the floor. A second person or suitable support can help manage large panels, reducing uncontrolled contact and unnecessary stretching.
Before removing the backing, the film is generally aligned over the panel with enough material left to wrap around its edges. This dry positioning stage allows adjustments while protecting the adhesive from premature contact.
Managing Tension and Air Release
Vinyl is designed to conform to curves, but excessive stretching can distort its appearance or weaken its ability to return to shape. Applying even, moderate tension helps the film follow contours while keeping its pattern and finish consistent.
Many wrap films feature Air release channels that allow trapped air to escape during installation. These channels work best when the installer presses the film progressively rather than sealing a large area all at once.
Application Methods for Smooth, Durable Results
With the film aligned, careful application turns preparation into a clean finish. The right pressure and sequence help prevent bubbles, wrinkles and visible stress marks.
Panel shape and film construction influence the approach, but a controlled, methodical process remains central to consistent results.
Squeegee Technique and Panel Application
The Squeegee technique uses overlapping strokes to press the film onto the surface and guide air toward an open edge. A suitable squeegee cover helps reduce the risk of scratching, while steady pressure encourages even contact without forcing the material out of position.
Working from the centre toward the edges is often effective on broad, relatively flat sections. Curves and recesses require slower movements, with the film repositioned when needed rather than stretched aggressively into place.
Edge Wrapping and Final Inspection
Edge wrapping gives panels a more finished appearance and can help reduce exposure to lifting forces. The film should be trimmed and tucked carefully, without cutting into the vehicle’s paint or leaving excessive tension at corners.
After application, a thorough inspection can reveal trapped air, loose edges or areas that need further attention. Installers should follow the manufacturer’s post-heating and curing guidance, since correct finishing supports long-term performance; this is also relevant to the factors discussed in this overview of wrap durability.

Installation Checks for Consistent Quality
A final review confirms that each stage has contributed to the desired result. The following checks help identify common issues before the vehicle leaves the installation area.
- Surface condition: Confirm that no visible dirt, moisture or residue remains beneath accessible film edges.
- Film appearance: Check for bubbles, creases, distortion and uneven gloss across each panel.
- Panel edges: Inspect wrapped edges and recesses for secure contact and clean finishing.
- Care guidance: Provide maintenance instructions that match the vinyl manufacturer’s recommendations.
A wrap’s appearance also depends on how it is maintained and on the quality of the original installation. For readers considering related vehicle upgrades, this guide to automotive window films explores another way to change a vehicle’s look and driving environment.
Preparation, measured handling and controlled application work together to create a smooth, durable wrap. For advice tailored to a vehicle’s paint and film type, consult a qualified wrap professional.