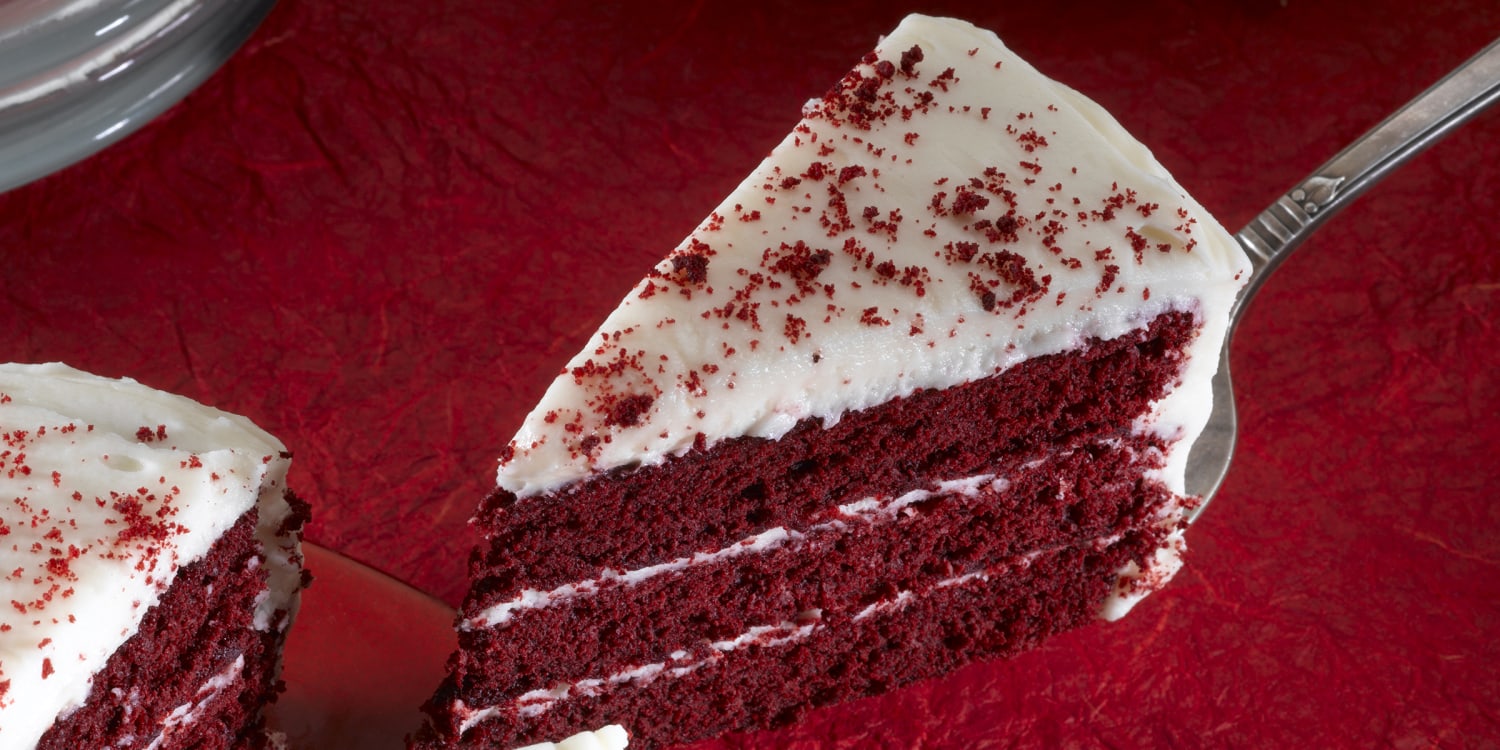
Unlike some common misperceptions, a red velvet cake isn’t just a regular cake with red food coloring. It’s basically a rich, “velvety”, dark-chocolate cake with a unique buttery, chocolaty and tangy taste. And, I guess this is the reason why many are obsessed with it. And, surprisingly, this cake is easy to make. Don’t believe me? Well, follow the simple steps below and you’ll find how easy it is to make a red velvet cake.
Classic Red Velvet Cake
 Servings: 8-10 slices
Ingredients you’ll need for the cake:
- Around 295 grams (or 2 and 2/3 cups) of cake flour
- ½ teaspoon of salt
- One teaspoon of baking soda
- 22 grams (or ¼ cup) of natural and unsweetened cocoa powder
- 115 grams (or ½ cup) of softened, unsalted butter
- 320 ml (or 1 and 1/3 cups) of buttermilk (room temperature)
- One teaspoon of distilled white vinegar (trust me on that)
- Two teaspoons of pure vanilla extract
- 350 grams (or 1 and ¾ cups) of granulated sugar
- 120 mil (or ½ cup) of vegetable or canola oil
- Two large eggs (at room temperature)
- One ounce of bottle liquid red food color
Ingredients you’ll need for the cream cheese frosting:
- 360 grams (or 3 cups) of powdered sugar
- 175 grams (or ¾ cups) of softened, unsalted butter (at room temperature)
- 1 and ½ teaspoons of pure vanilla extract
- Twelve ounces of brick-style cream cheese
Instructions to make the Classic Red Velvet Cake:
 Step 1:
You start by preheating the oven to 350°F (177°C) and then spraying two cake pans with nonstick cooking spray properly. Prepare the bottoms of the pans with parchment paper and then put them aside.
Step 2:
Now, take a large bowl and mix together the dry ingredients such as the cocoa powder, the cake flour, the salt and baking soda. After sifting and removing any lumps from the mixture, put it aside.
Step 3:
Take another large bowl and with the help of an electric mixer, combine the butter and sugar together on medium speed for around 3-5 minutes. You can add the eggs next and continue mixing. Next, add in the red food color, vanilla extract, vinegar and oil. And, mix properly.
Step 4:
In three portions, sequentially add the dry ingredients and buttermilk, beginning and finishing with the dry ingredients. Mix each ingredient until just mixed, being careful not to overmix the batter.
Step 5:
Distribute the cake batter evenly between the two prepared cake pans, spreading it out into one equal layer. Tap the cake pans on the counter 2-3 times to eliminate any air bubbles.
Step 6:
Bake for 28-32 minutes at 350°F (177°C), or until a toothpick inserted into the middle of the cakes comes out clean. Remove from the oven and set aside on a wire rack for 15-20 minutes to cool in the pans. The cakes should then be gently removed from the cake pans and placed on a wire rack to cool completely.
Instructions to make the cream cheese frosting:
Step 7:
Cream the cream cheese in the bowl of a stand mixer fitted with the paddle attachment, or in a large mixing basin using an electric mixer, until smooth. Mix in the butter for 30 seconds to 1 minute, or until fully blended and smooth.
Step 8:
Continue to mix in the powdered sugar and vanilla extract until well incorporated, scraping down the sides of the bowl as required.
Instructions to assemble the final cake:
Step 9:
Using a knife or cake leveler, level the tops of each cake. Place one of the cake layers on a cake stand or plate, cover with icing, and smooth out into an even layer. Place the second layer on top, then coat the top and edges of the cake with the remaining frosting.
Tips:
You can refrigerate leftover red velvet cake in an airtight container for up to 3 days.

Leave a Reply to Easy Tips For Successful Pancakes – Thefuntimeblog Cancel reply